Kung Pao Chicken / 宮保雞丁 (Gōng Bǎo Jī Dīng)

I am in love with Sichuan food, and I don’t care who knows it!
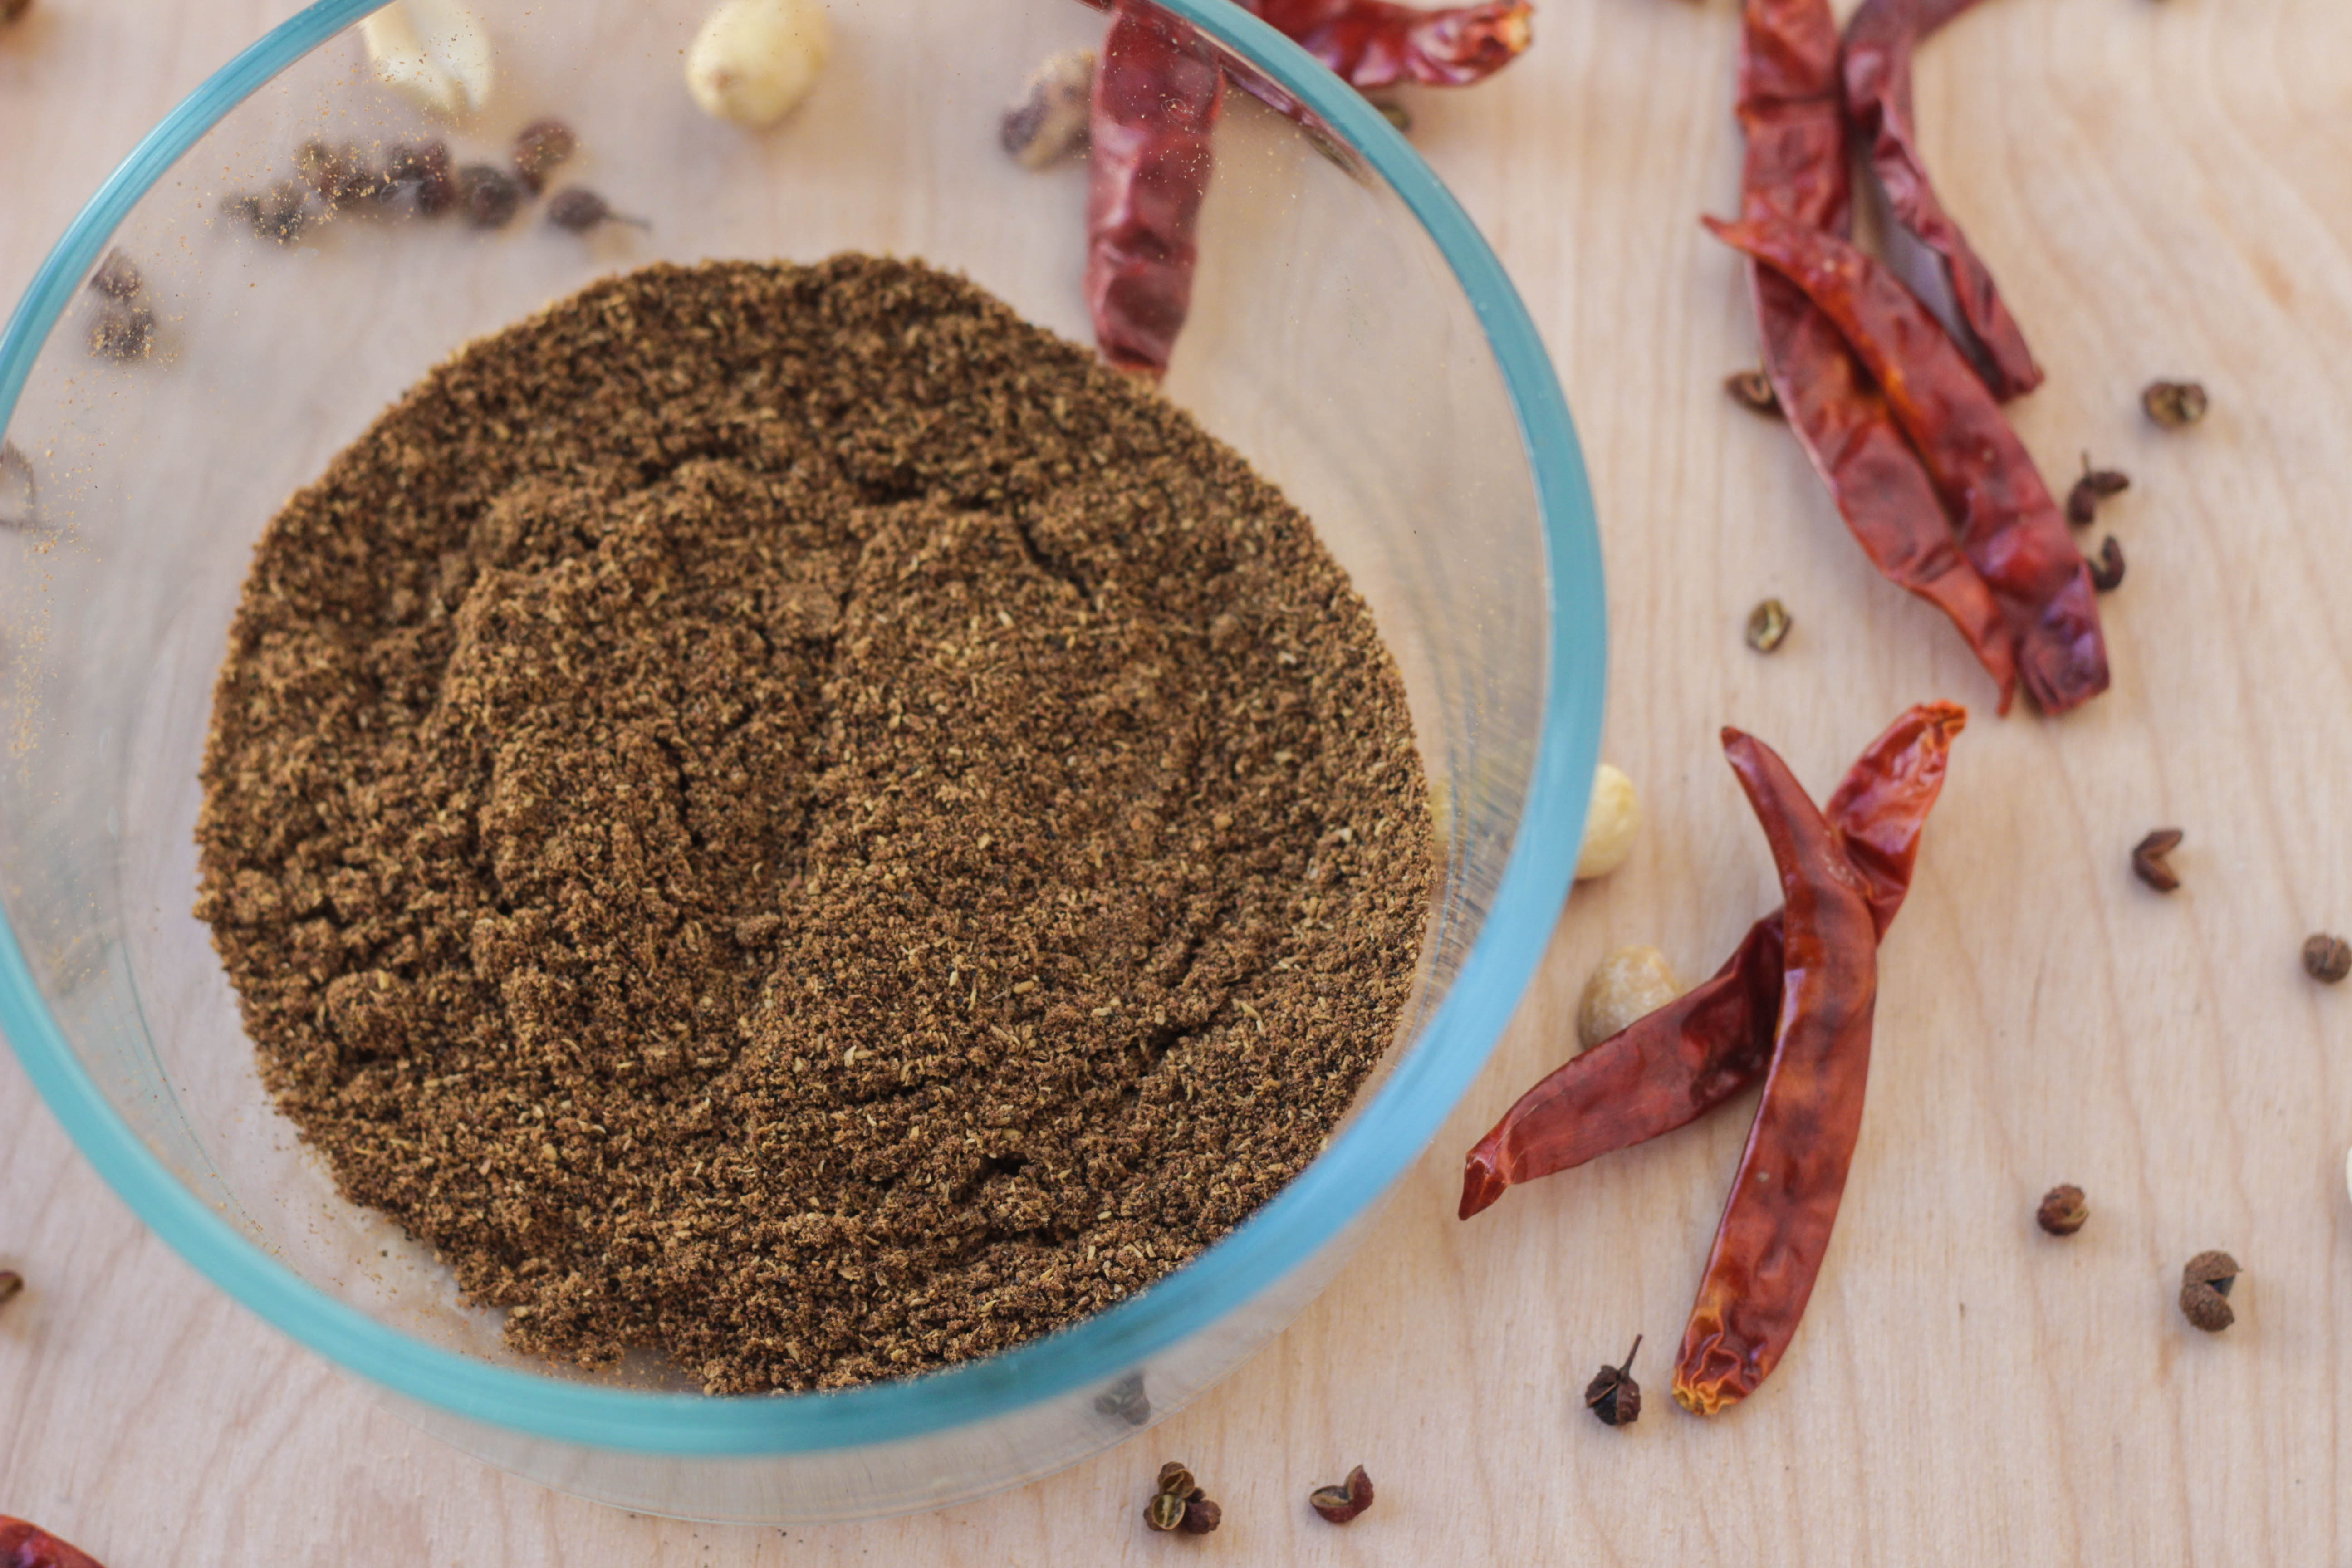
The real love affair (sorry, James) started when I finally got a clue and figured out how to really enjoy Sichuan peppercorns:
- Dry-roast the peppercorns until they are pungent in a wok
- Grind the peppercorns in a spice grinder at the “fine” setting
- Pour through a sieve into an airtight container (to filter out the stems and husks)
- Sprinkle that sh–um, I mean stuff –on everything!
The ground, roasted Sichuan peppercorns stay crisp and fresh in flavor and scent for a month; I dry-roasted ½ cup a few weeks ago and I’ve still got a few tablespoons left over, so I would suggest roasting much less if you don’t favor Chinese or Sichuan food as much as I do (2-3x a week). But I can assure you it’s totally worth it; you won’t experience the richness of flavor that Sichuan peppercorn/prickly ash is famous for unless you roast it first. At first, I thought it was the inferiority of the brand I was using… turns out that most any brand regardless of price will taste heavenly if you roast it first. (But I still believe spending a little extra on higher-quality peppercorns will only help!)
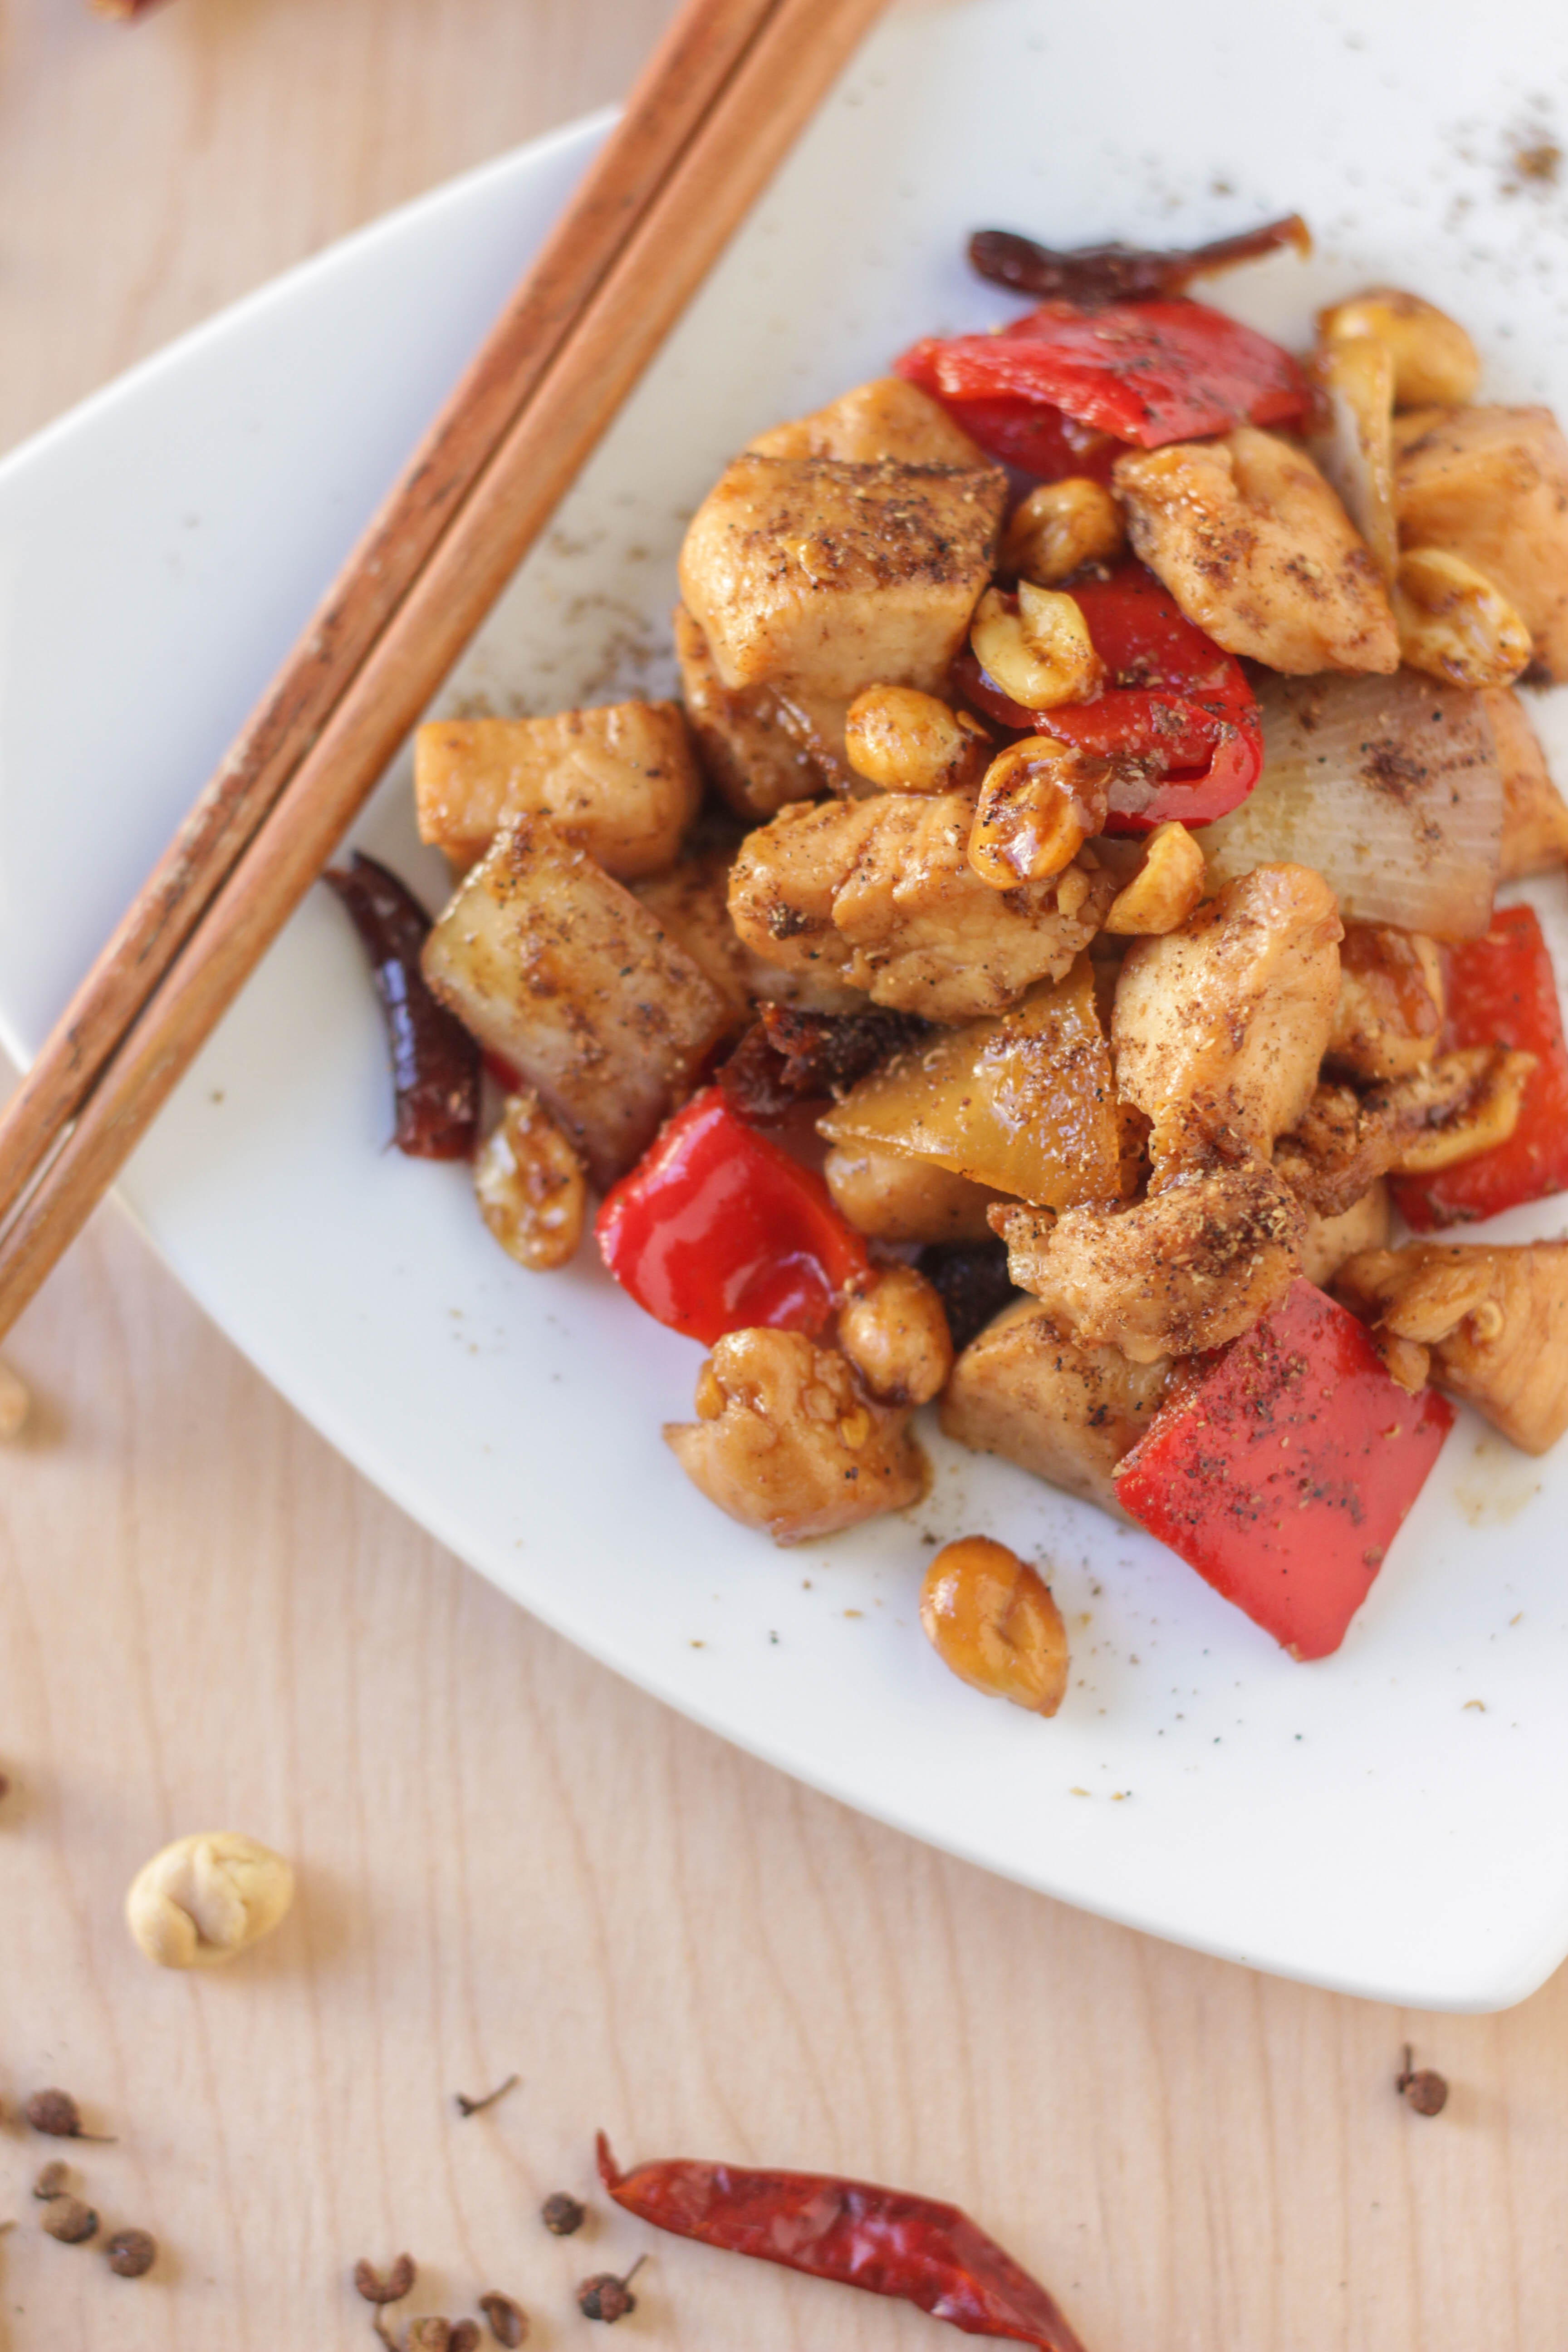
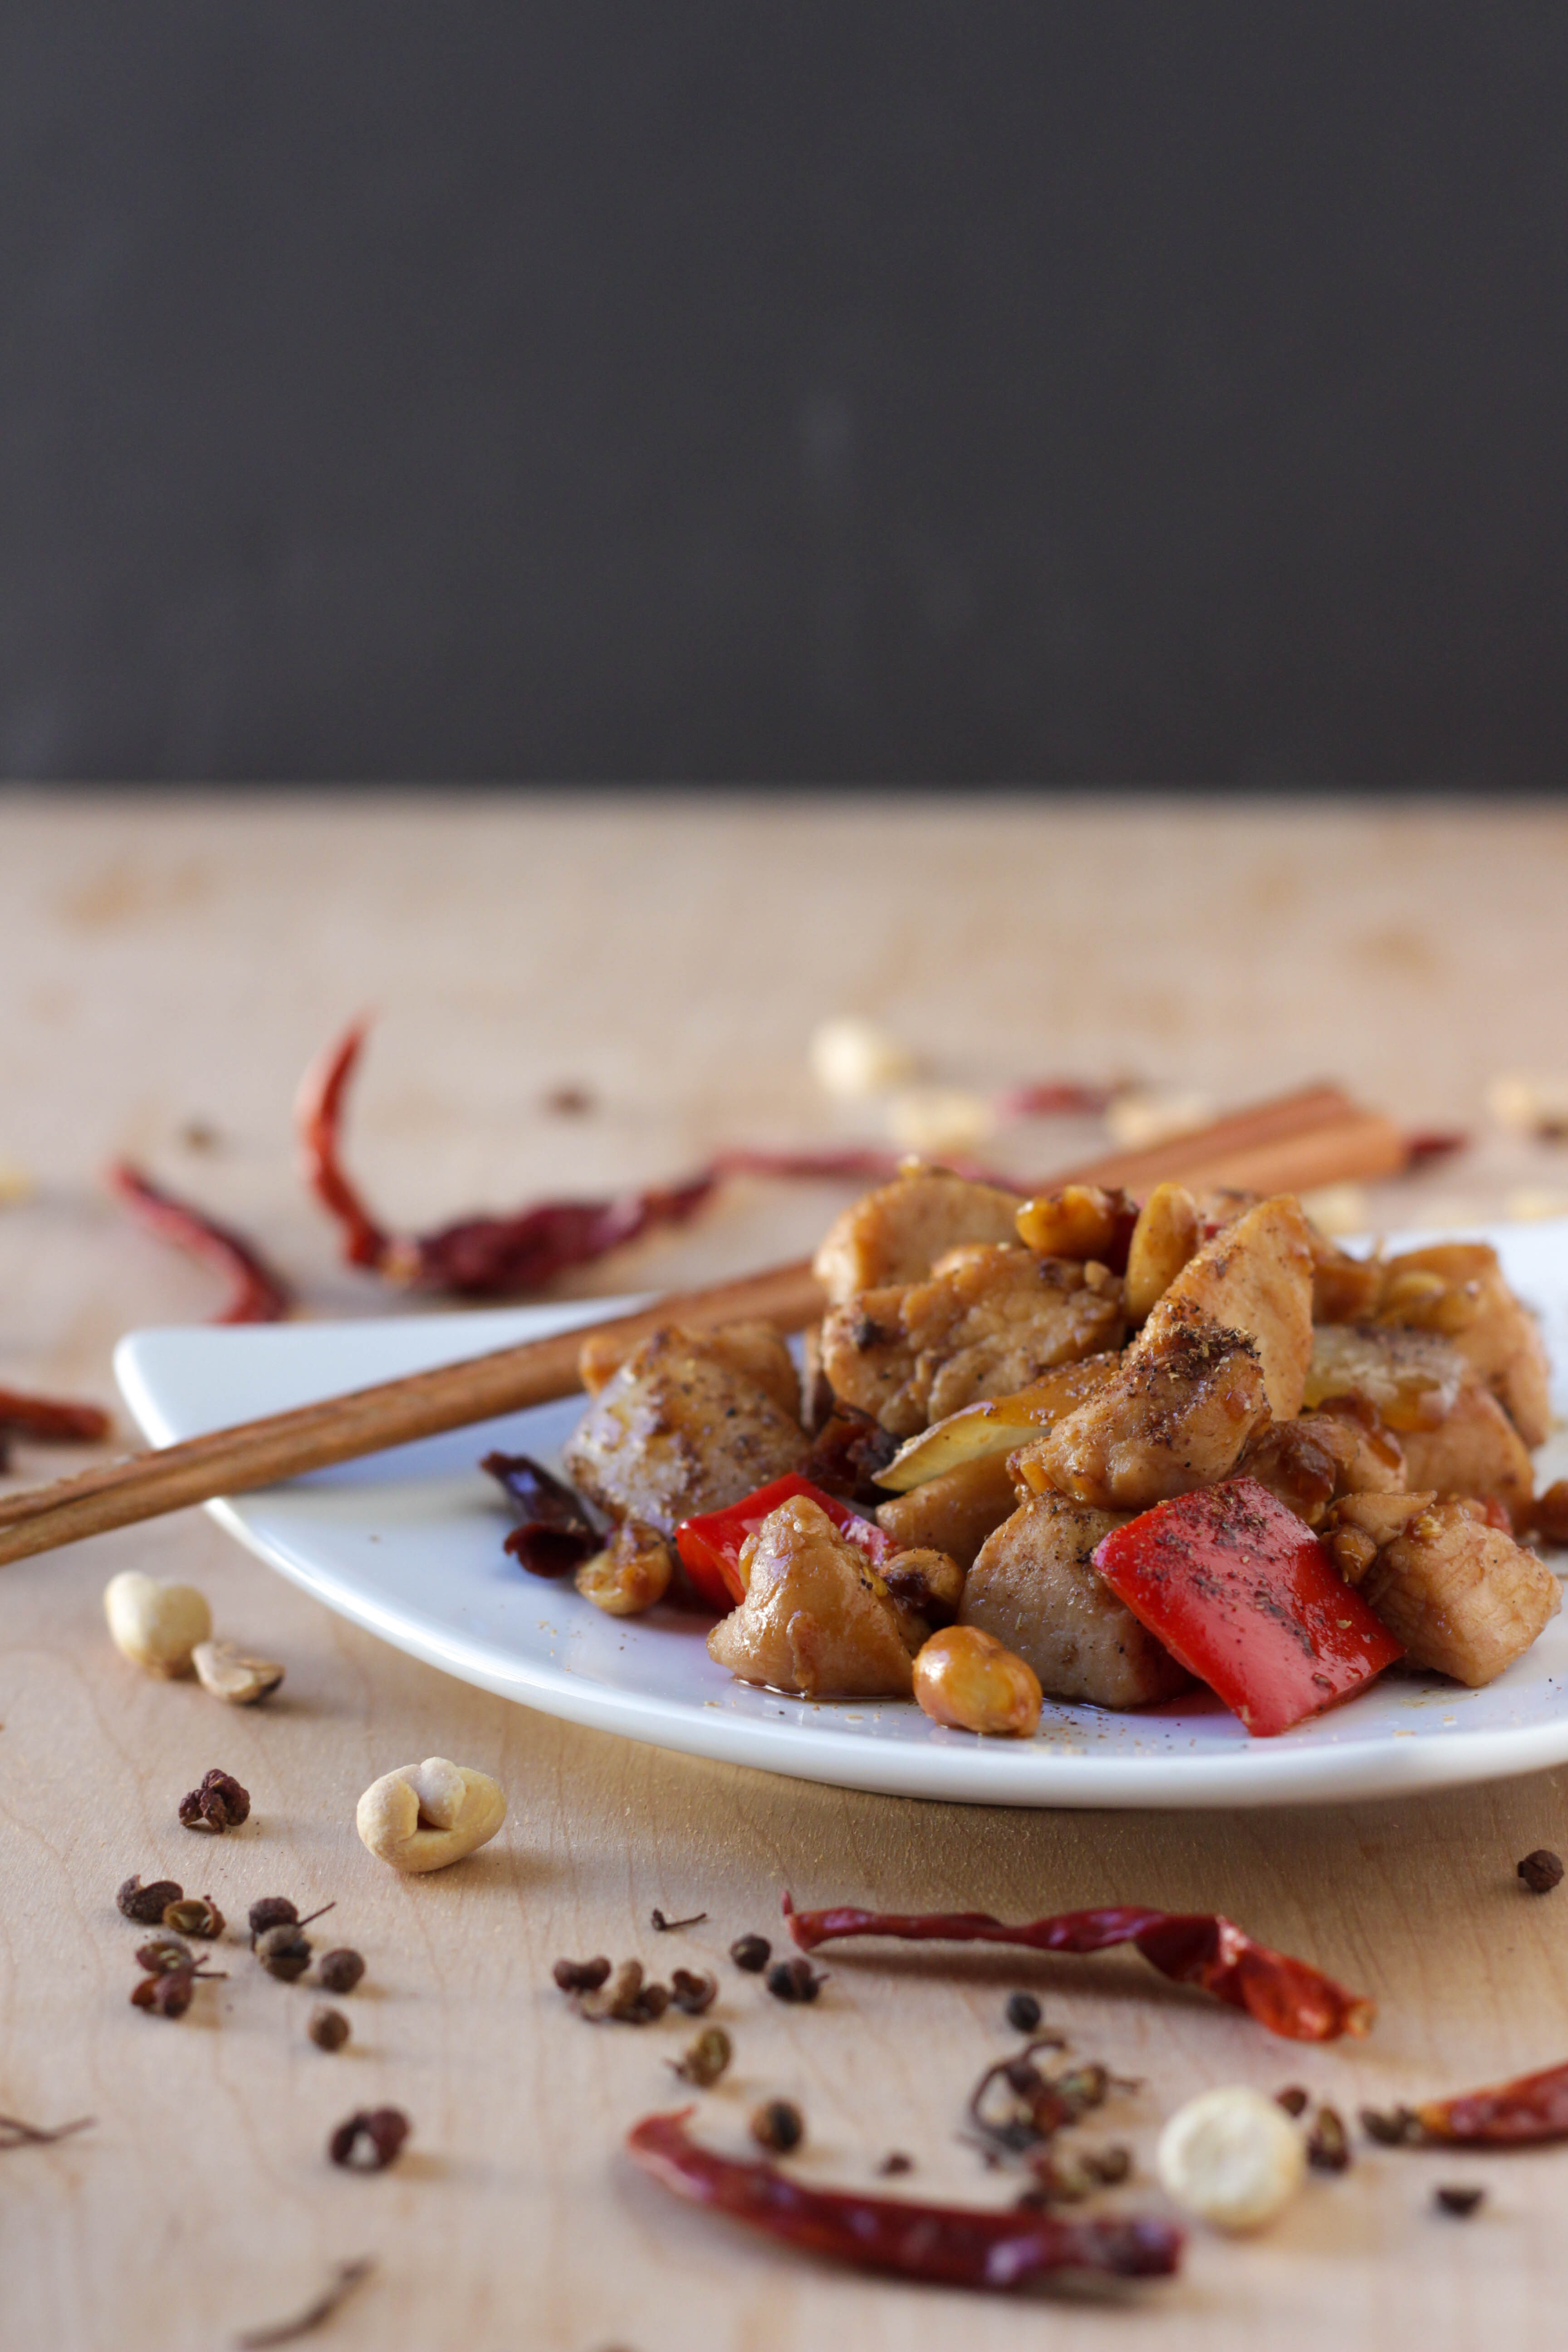
With that said, I’ve been trying different recipes of Kung Pao chicken for a while now–always looking for something a little more authentic, a little more spicy. I finally found a few Sichuan-based recipes recently, and have created something based on my preferences that I wanted to share! It’s definitely on the spicier side, so feel free to use fewer chili peppers than the recipe calls for. The bell pepper and diced onions are definitely more American-style Kung Pao than the traditional recipe (which simply calls for diced chicken and scallions), but I liked the sweetness that the vegetables lent to the savory spiciness of the dish.
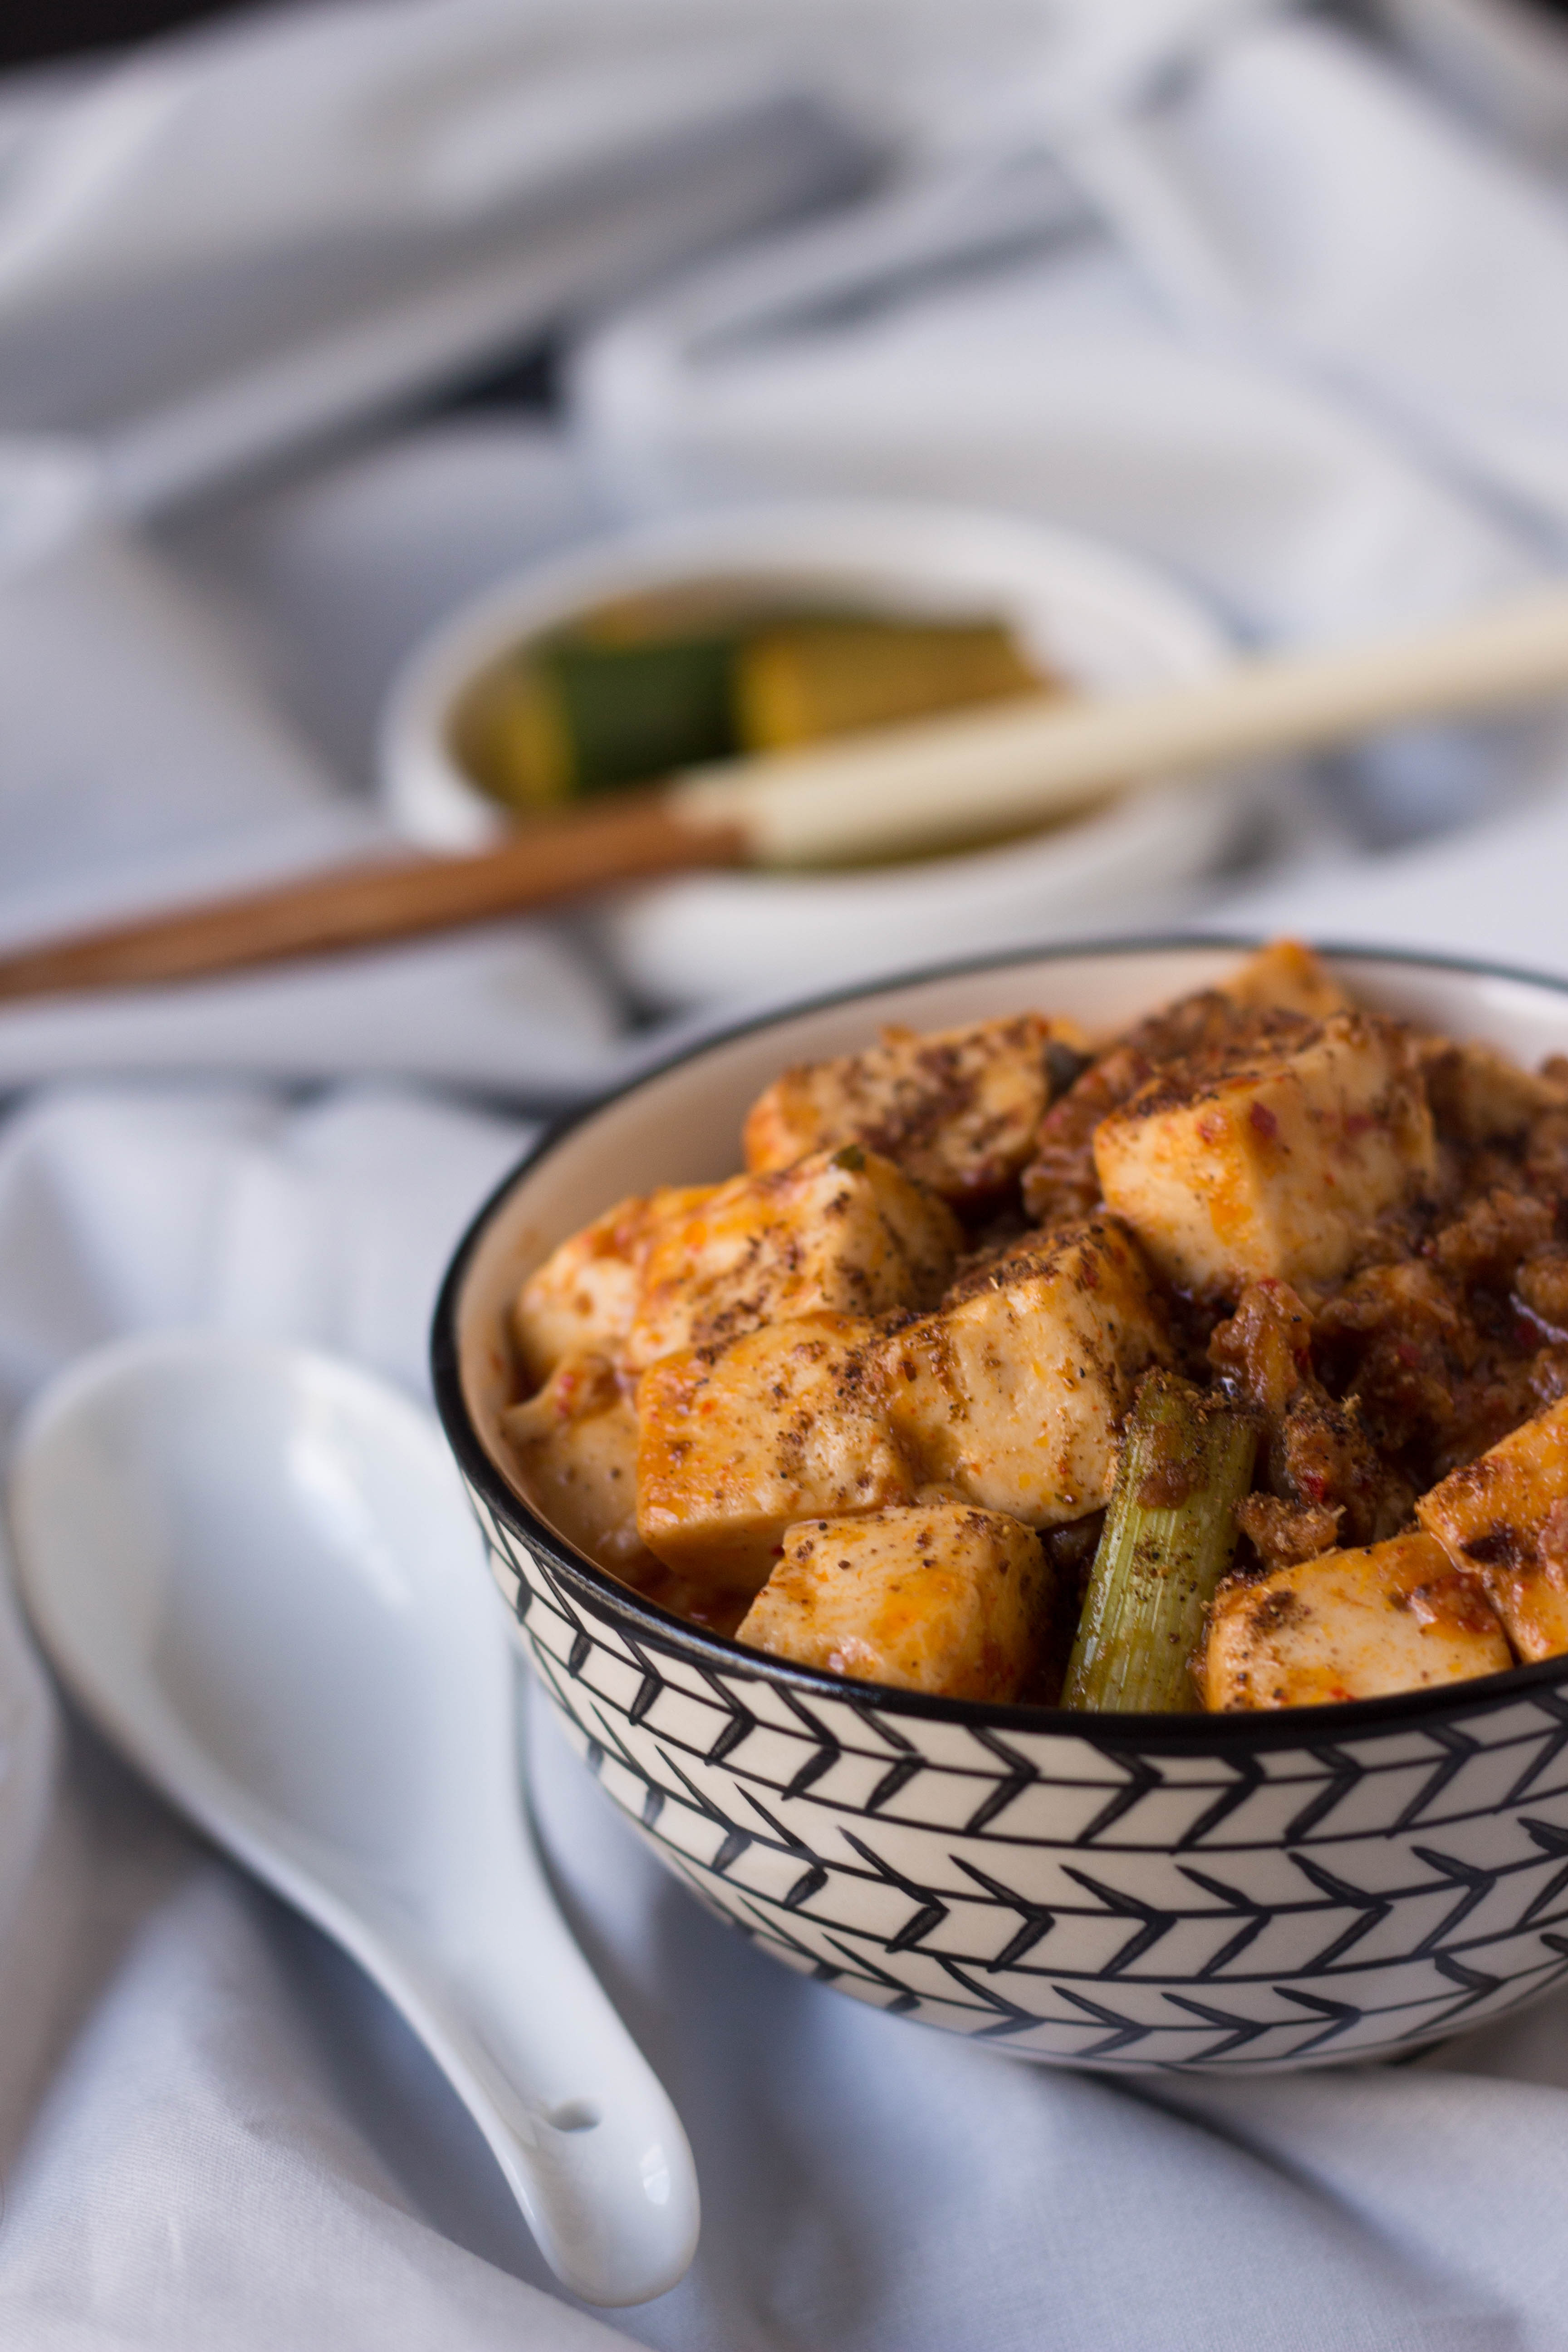
As I mentioned earlier, I literally do sprinkle the ground Sichuan peppercorn on anything that may conceivably taste good with it, and this recipe is no exception. The numbing spice of Sichuan peppercorn and the heated spice of chili peppers have always paired well together, but they are especially delicious with the kung pao sauce here. The aroma of freshly stir-fried kung pao chicken, dotted with the ground peppercorn, is both exotic and mouth-watering. Much, much more appetizing than the standard kung pao you’ll find at American Chinese restaurants, I guarantee it.

My favorite part of this dish has always been the roasted peanuts; I love the mix of both flavor and consistency that peanuts bring when added. I cheated and used dry-roasted, non-salted peanuts for this recipe… but if you have the time and the energy, shelling and frying raw peanuts gives a stronger, smokier flavor to the overall dish that ready-made peanuts can’t quite accomplish. Just be sure to be vigilant and stay at the stove when frying them, as they will burn very quickly if not under constant watch!
If you prefer using chicken thighs over chicken breast (and I almost always do), you can skip the marinating if you’d like. But I would do it anyway, as I think the small amount of xiaoxing or cooking wine used gives the chicken complexity. I know most people prefer how much easier breast is to cut through than thigh… no fat to trim or uneven pieces to measure. In this case, the marinade “velvets” the drier chicken breast meat and makes it more appetizing to eat.
This main dish is on heavy rotation in our kitchen, and I hope it finds its way to yours as well.
Kung Pao Chicken / 宮保雞丁 (Gōng Bǎo Jī Dīng)
Description
This savory take on kung pao chicken is way better than Chinese takeout—especially if you add ground Sichuan peppercorn powder.
Chicken + Marinade
Sauce
The Rest
Thickening Slurry
Instructions
-
Marinade
Place the chicken cubes into a bowl with the marinade ingredients, then mix well and allow to sit for 20-30 minutes.
-
Sauce
In a separate bowl, combine the dark soy sauce, regular soy sauce, white sugar and vinegar.
-
While the chicken is marinating, dice your bell pepper, onion, garlic, and ginger.
-
After the chicken has had time to marinate, heat a large frying pan or wok to medium heat with 3 Tbsp. of oil. When the oil is heated, carefully add the chicken pieces and cook until the pieces are white all over with no visible pink.
-
Remove the chicken from the wok and onto a plate for now. Try to keep as much of the oil in the pan as possible.
-
Add the dried chili peppers–use less if you’d like to keep the spice level down. If you want to really heat things up, cut the dried chilis in half before adding into the oil. Make sure you've got your fan running because the air will get caustic very quickly. Fry the chili peppers until they start to darken in color.
-
Once the peppers have darkened, add the garlic and ginger and stir-fry until aromatic. If you’re not using a non-stick, the pan will get sticky and some of the ingredients will start browning while stuck on the cooking surface. That’s okay!
-
Add the onions and bell peppers and stir to combine. Add the 1 Tbsp. of cooking wine, then ¼ cup water to fully deglaze the pan. Scrape all of the sticky parts off the pan–they should come off quite easily with the water and wine.
-
Turn the heat up to medium high and continue to stir for a minute. When the onions start to become translucent, add the chicken cubes you previously set aside and stir to mix.
-
Add the soy sauce mixture you combined earlier and stir to coat evenly, about one minute.
-
Add the cornstarch and stir until the sauce thickens considerably.
-
Toss the peanuts into the wok and stir to coat with sauce.
-
Turn off the heat and plate immediately. Sprinkle with ground Sichuan peppercorns (optional) and serve.