High Altitude Oatmeal Raisin Cookies
I’ve been in Colorado for the past week for a bevy of reasons–a dear friend’s wedding, volunteer work with an adoptee heritage camp, spending time with my grandmother… and so on. And whenever I come home, I’m always driven to cook and bake for my family; I mean, it’s what I spend most of my time doing in LA, so I want to cook for my mom & grandmom whenever I’m here. At least I’m more skilled now compared to when I was living in Colorado a few years ago–the running joke before I moved was that my ‘kitchen creations’ at my parents’ house were more like ‘kitchen disasters.’ Smoke alarms, scalded fingers, a lingering burning smell, emulsions that didn’t… emulsify…
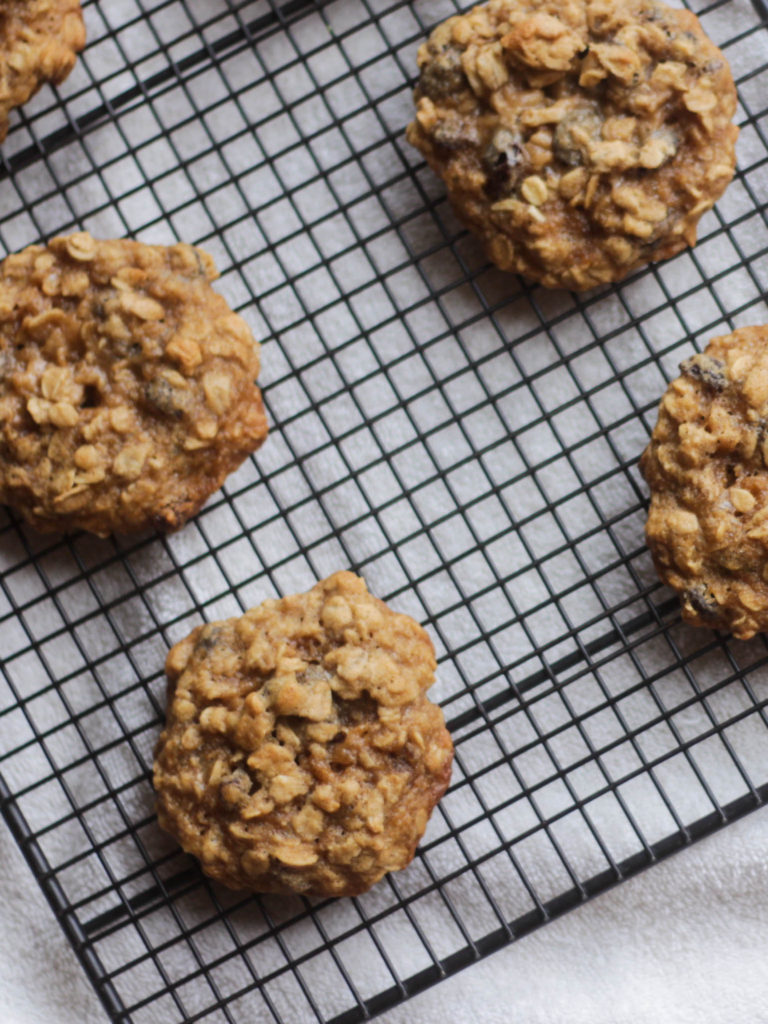
I always managed to scrape respectable cookies out of my parents’ oven despite the charred entrées, though. Maybe I was just lucky? Honestly, I think it’s because baking requires almost no multitasking–once it’s in the oven, it’s time to play the waiting game. Either way, my family always knows that they can trust my baking and therefore I’m always tasked with cookie-baking whenever I come home to visit again.
So what’s different about these “high-altitude” cookies? Is it just a cute turn of phrase? Actually, it’s the standard alteration I make to all of the cookies I bake in Colorado but added to my favorite oatmeal raisin recipe (via Simply Recipes). Click on the link for a sea level recipe!
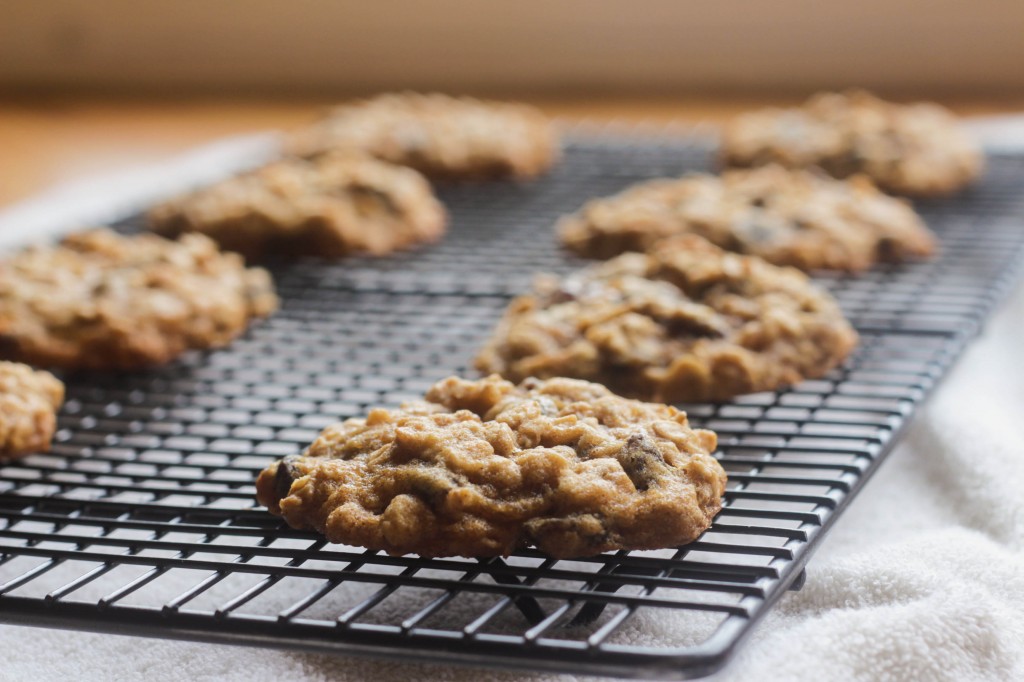
Thanks to King Arthur Flour‘s altitude baking chart, I came up with a uniform adjustment to generic cookie recipes that works very well for the Mile-High altitude. I subtract a Tbsp. of sugar, add 2 Tbsp. of AP flour and 2 Tbsp. of water, as well as increase the temperature by 15ºF and reduce the baking time by 2-5 minutes. I won’t lie–baking at higher altitude is definitely trickier than sea level, and getting a soft, chewy cookie usually involves some oven window watching. But if you continue to do these alterations over time, they’ll become second nature! Toward the end of my time in Denver [before I moved to LA], it was a customary adjustment that I had memorized and used without much thought.
So to my friends, family, and anyone else that happens to live where the oxygen percentage is lower–this recipe is for you. I wish you chewy, moist, and delicious oatmeal cookies packed with raisins and crunchy edges! My heart will always be evenly split between these mountains and the Pacific Ocean.

High Altitude Oatmeal Raisin Cookies
Description
This recipe is for my high-altitude friends out there that love a chewy oatmeal raisin cookie as much as I do.
Ingredients
Additional Adjustment
-
If you live at an altitude above 7000 ft, add an additional 1½ tsp. of liquid and 1 Tbsp flour to the recipe; for each additional 1000 ft, add another 1½ liquid and 1 Tbsp flour.
Instructions
-
Preheat your oven to 365ºF.
-
Line a sheet with Silpat or with parchment paper. If you have neither, be sure to spray your pan with non-stick or wipe some oil onto the surface with a paper towel.
-
Cream the butter using a stand mixer with the paddle attachment or a hand mixer (1 minute).
-
Add the brown sugar and white sugar, then mix for 3 minutes on medium or until fluffy in appearance.
-
Add the egg and vanilla extract, then mix until blended into the batter.
-
In another bowl, combine the flour, salt, baking soda and cinnamon with a whisk or fork.
-
Combine the oats with the dry mixture and stir until well-mixed.
-
Pour the contents of the dry mixture into the wet batter in three batches, making sure to mix well each time before adding the next batch.
-
Pour the water into the mix and stir slowly until the water has been absorbed by the batter.
-
Throw the raisins into the batter and stir until the raisins have been evenly distributed.
-
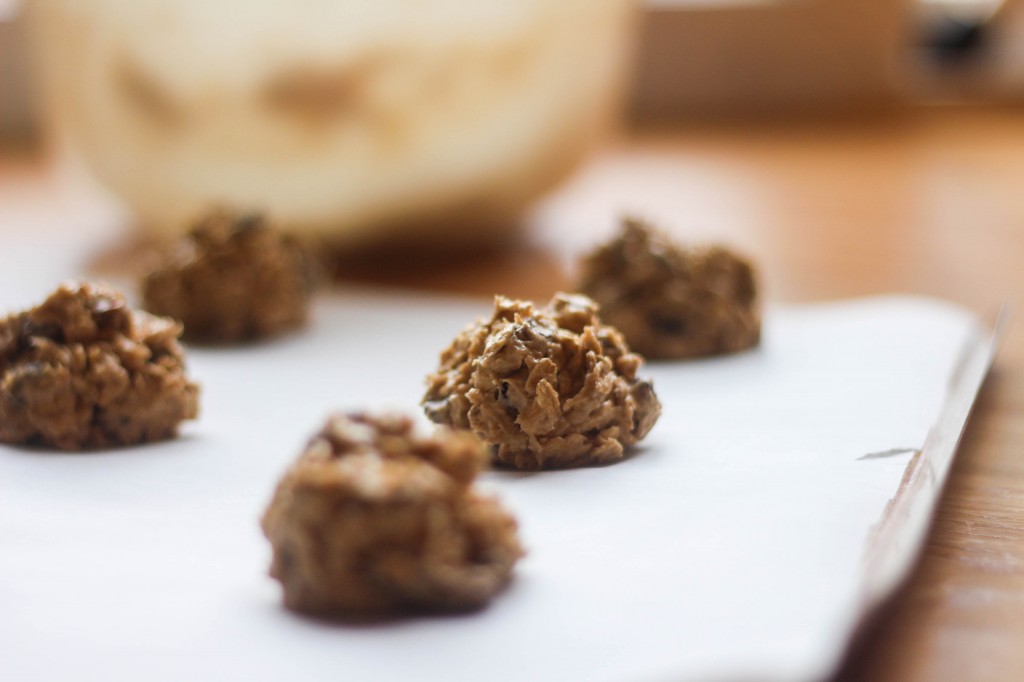
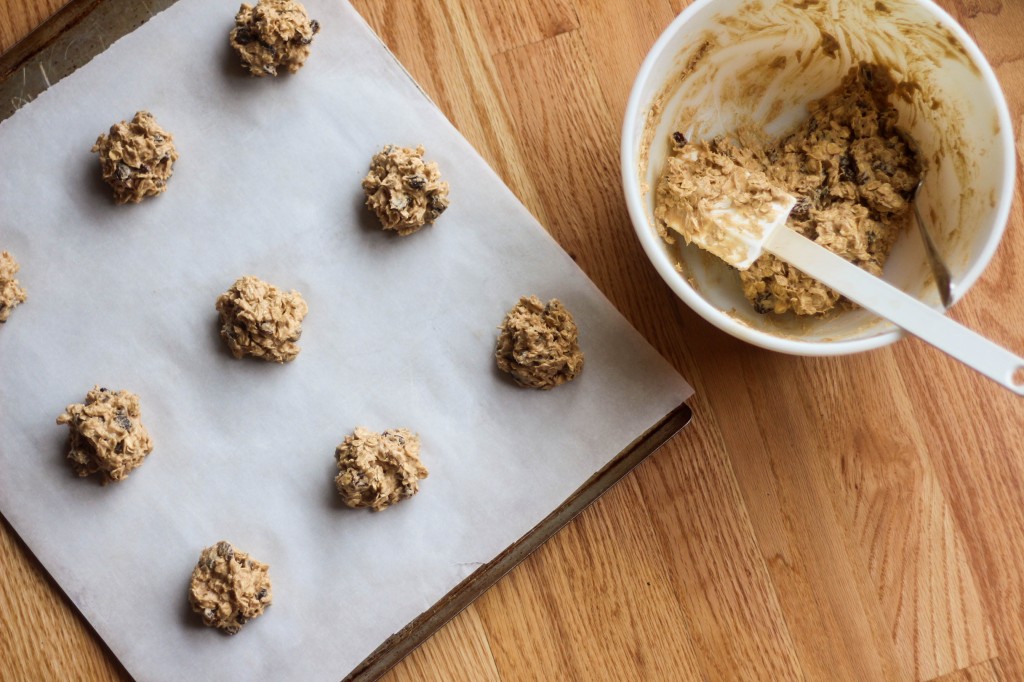
Form cookie dough into rounded tablespoon-sized balls and place onto the pan, keeping the dough balls 2 inches apart from each other.
-
Bake for 8-10 minutes–you’re looking for the edges to be golden-brown, even if the center looks a little gooey and uncooked. Don’t worry, the center will continue to bake when you take it out of the oven.
-
Leave the cookies on the tray for two minutes, then transfer to a cooling rack carefully–the cookies will still be very soft.
-
These cookies will stay soft and chewy for up to a week if you keep it in an airtight container.


