For the past few months, James and I have been religiously watching our intake of carbohydrates. All of the sweets you see posted on here? I usually get rid of them as quickly as I can and pawn them off on friends and family. (Thanks, friends and family!) But now that we’ve managed to start working out regularly, avoiding carbs is becoming less of an issue.
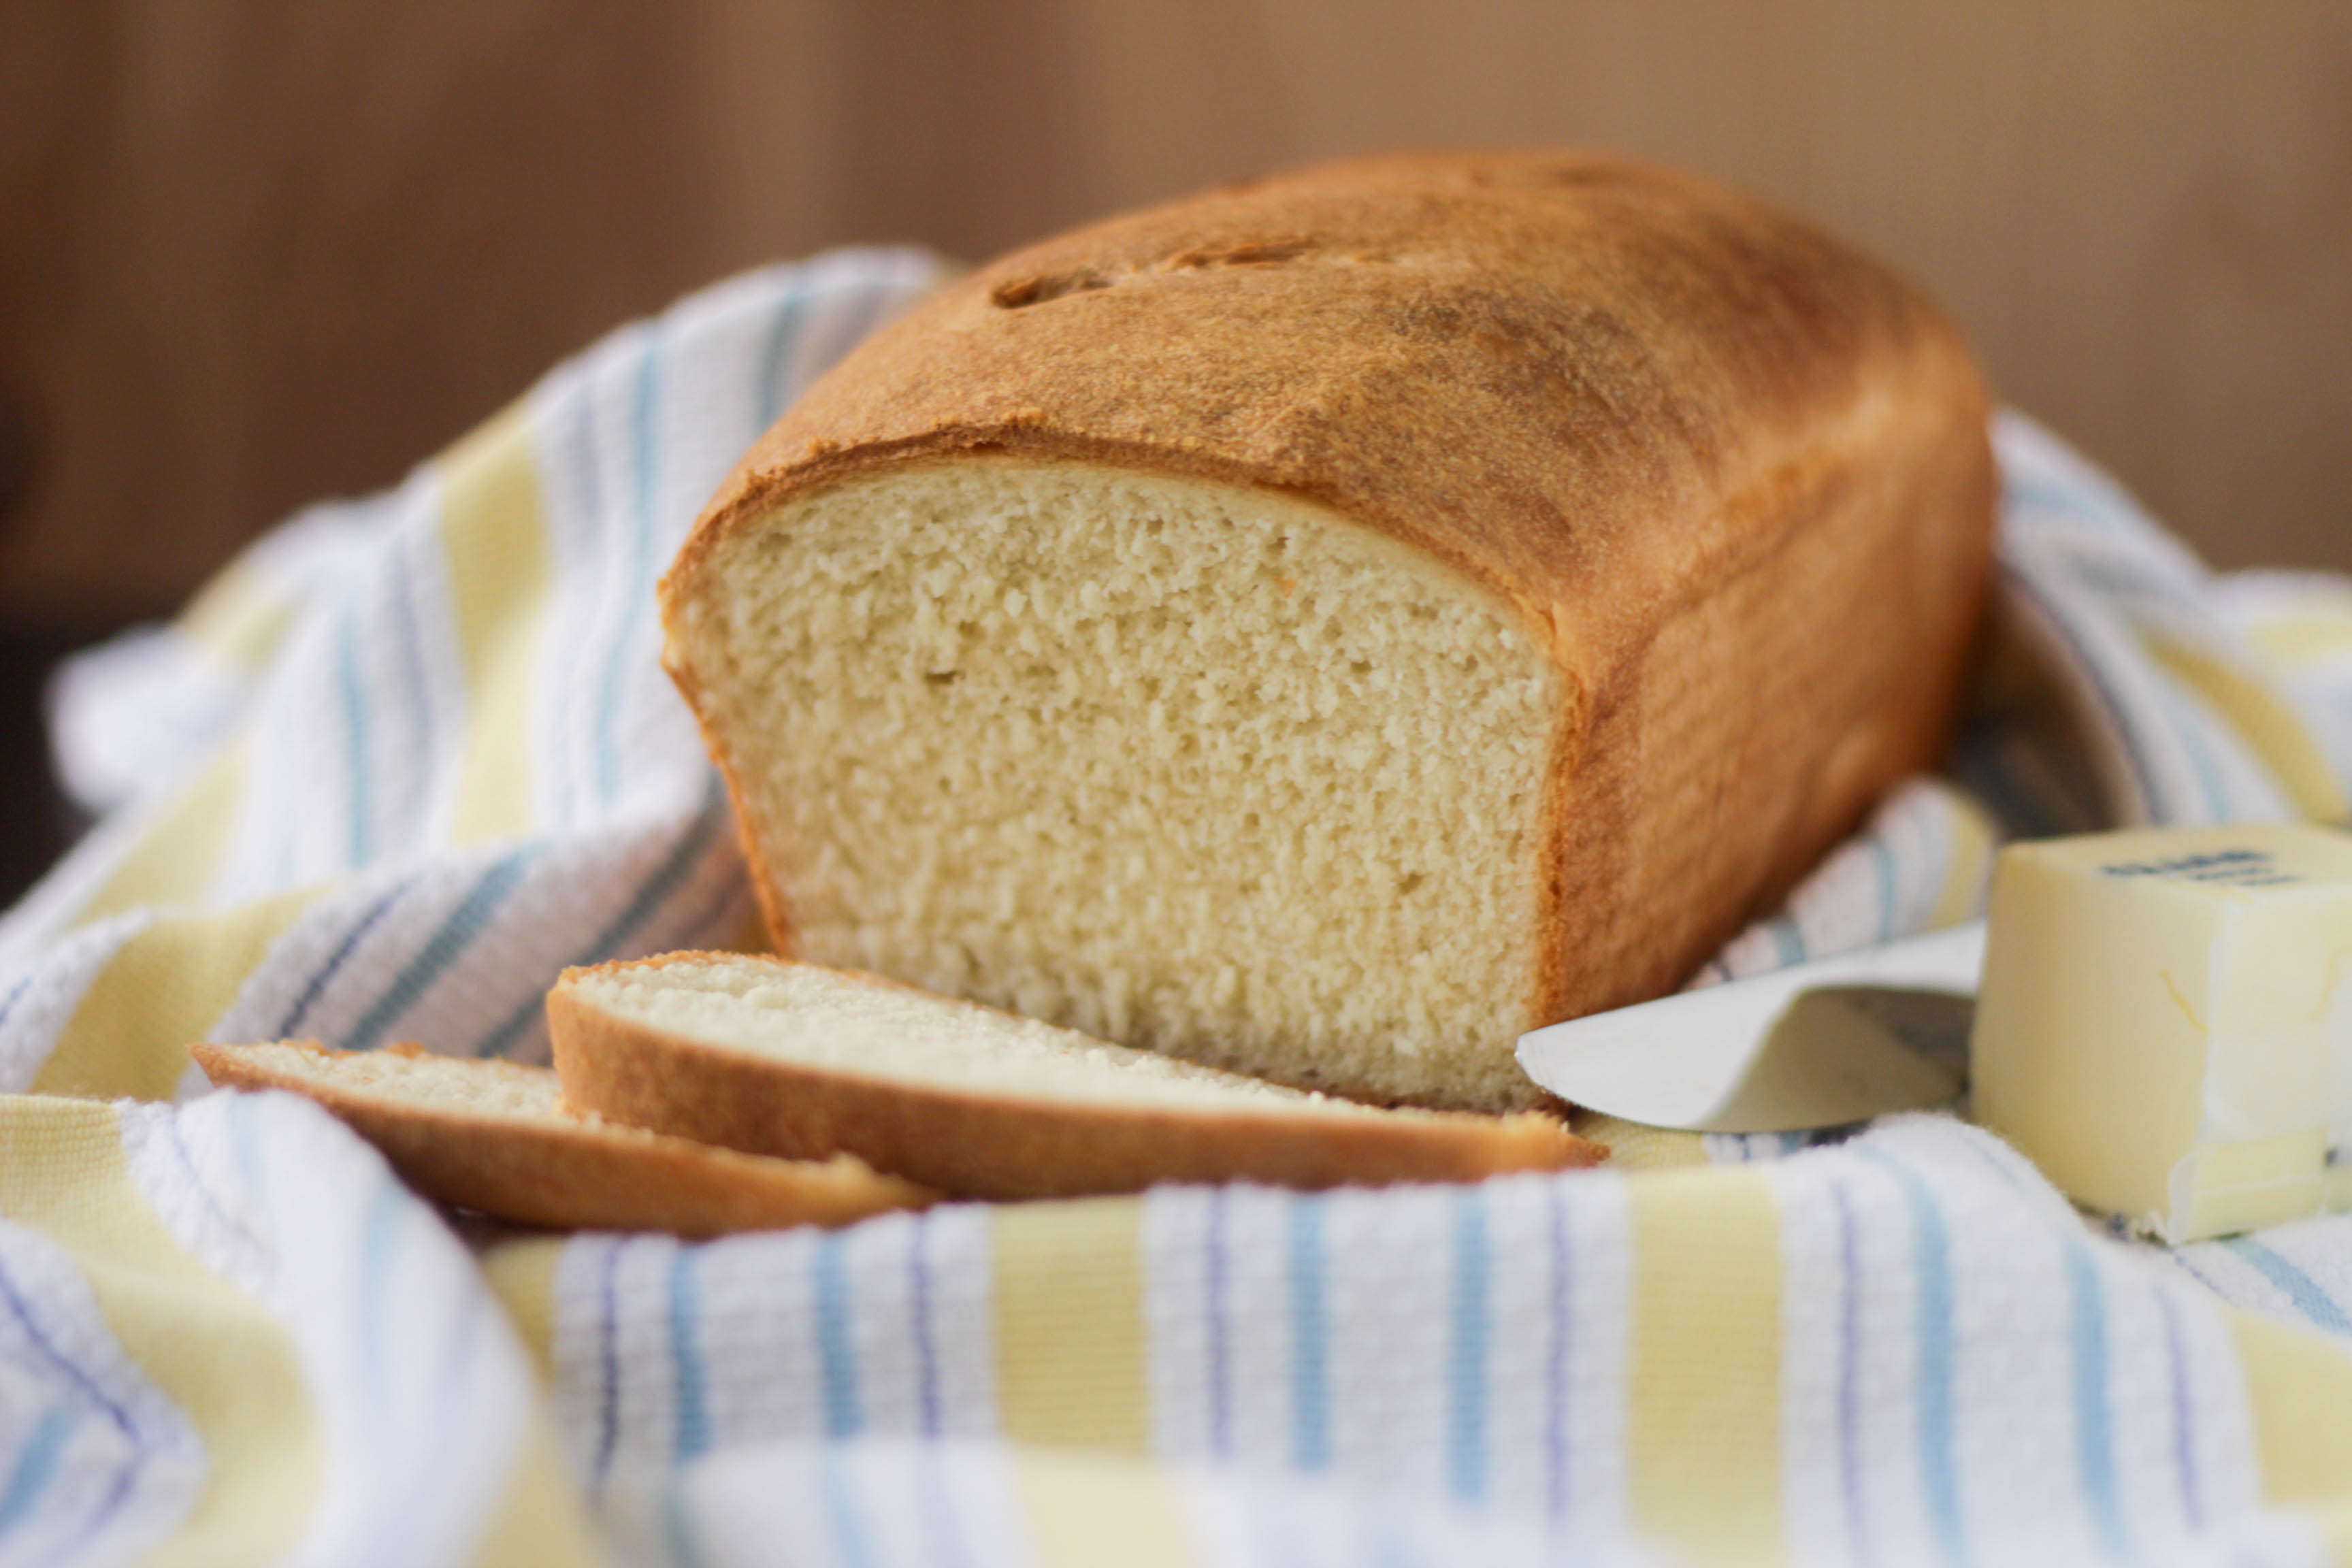
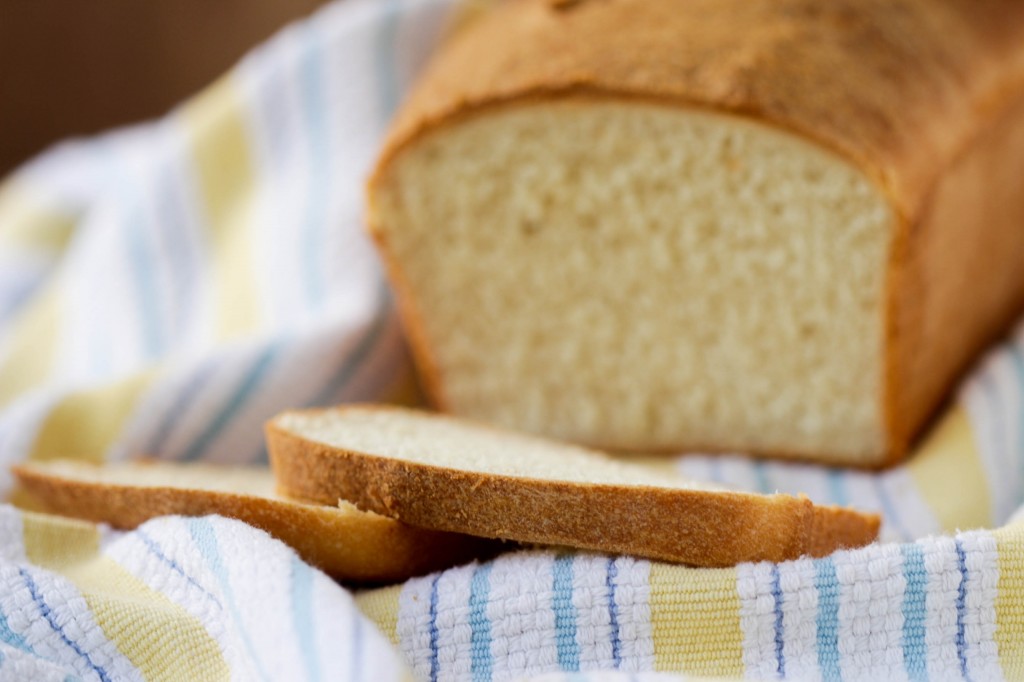
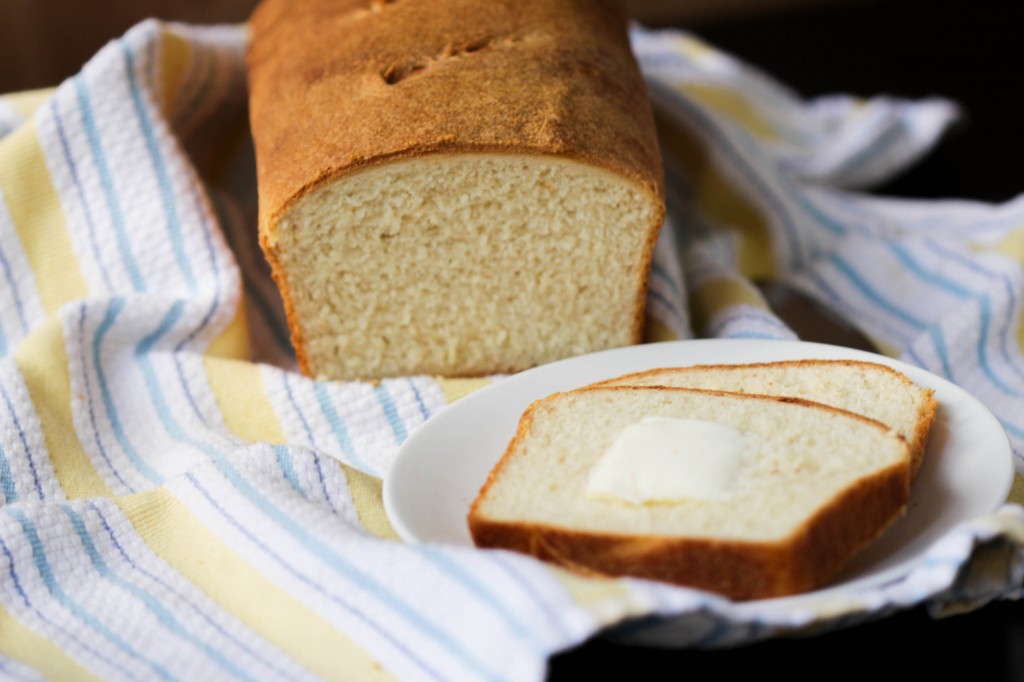
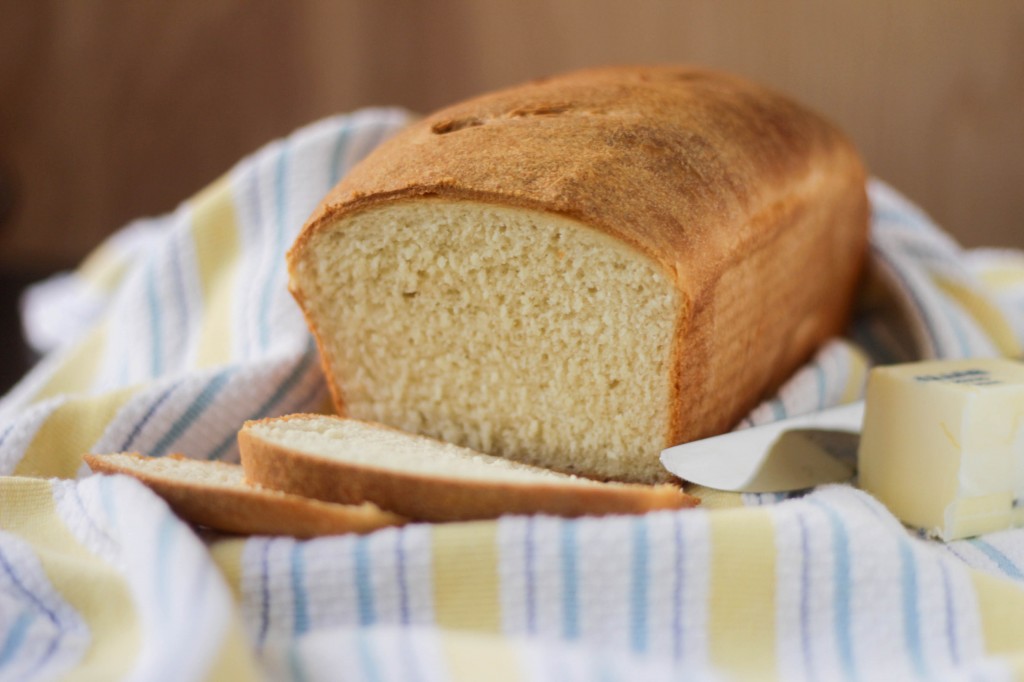
Enter “buttermilk…ish bread.” Why the –ish? Well, I don’t use a whole lot of buttermilk in my cooking or baking, apart from pancakes or bread. When I do buy it for the sake of a recipe’s posterity, the leftover amount usually wastes away in a corner of my fridge while I sadly try to come up with excuses to use it. (Fried chicken? No, trying not to fry things as often. Buttermilk panna cotta? Too sour. And so on.) Instead, I use the budget-friendly (and waste-free) substitute of whatever milk I have in the fridge plus an acidic agent; in this case, I use white vinegar. Therefore, this bread is a buttermilk recipe but I use a buttermilk-ish substitution!
I also reduced the original recipe in half because neither of us eat bread too often—we can usually keep a loaf going for at least 2-3 weeks, if not longer. Bread is very amenable to being frozen if you’re not aware of it—I’ve kept homemade buttermilk bread in the freezer for as long as to 3-4 months at a time. Just microwave it for a few seconds or toast the slice(s) you need in a toaster and you’re all set.
I know that the prep time looks kind of daunting, but this recipe is completely worth it. I’ve tried at least 3 or 4 buttermilk recipes and like this one best. Lastly, I’ve mentioned before that my oven is completely crazy and often runs >25°F higher than it indicates—don’t take the times listed as absolute truth! Ovens are temperamental and can vastly differ in bake times. You can walk away while it’s baking, just don’t walk too far!
I know I already said ‘lastly,’ but here’s ONE MORE thing: wait until the loaf is cool to slice it. I like to slice the entire loaf all at once so it’s easier to grab individual slices after I freeze it.
Okay, that’s it! Happy baking!
Recipe adapted from About.com – Bread Baking

